Why Neovim is My Favorite Text Editor
Neovim has become my favorite text editor for one simple reason—customizability. Unlike traditional editors, Neovim gives me complete control over how my development environment looks and functions. It is powered by Lua, a fast and lightweight scripting language that makes configuration and plugin development much more efficient compared to Vimscript, which powers the classic Vim editor.
What Makes Neovim Special?
Neovim is essentially a fork of Vim, meaning it is built on top of Vim while adding modern features and better performance. It offers advanced capabilities like built-in LSP (Language Server Protocol) support, asynchronous execution, and the ability to handle multiple buffers efficiently.
One of the biggest advantages of Neovim is its speed. Unlike VS Code, which relies on heavy extensions that can sometimes slow down the user experience, Neovim remains lightning-fast even with multiple plugins installed. Now, don't get me wrong—VS Code is an excellent text editor developed by Microsoft, but as programmers, we love exploring new tools. After using Neovim for three months, I can confidently say that I am completely in love with it.
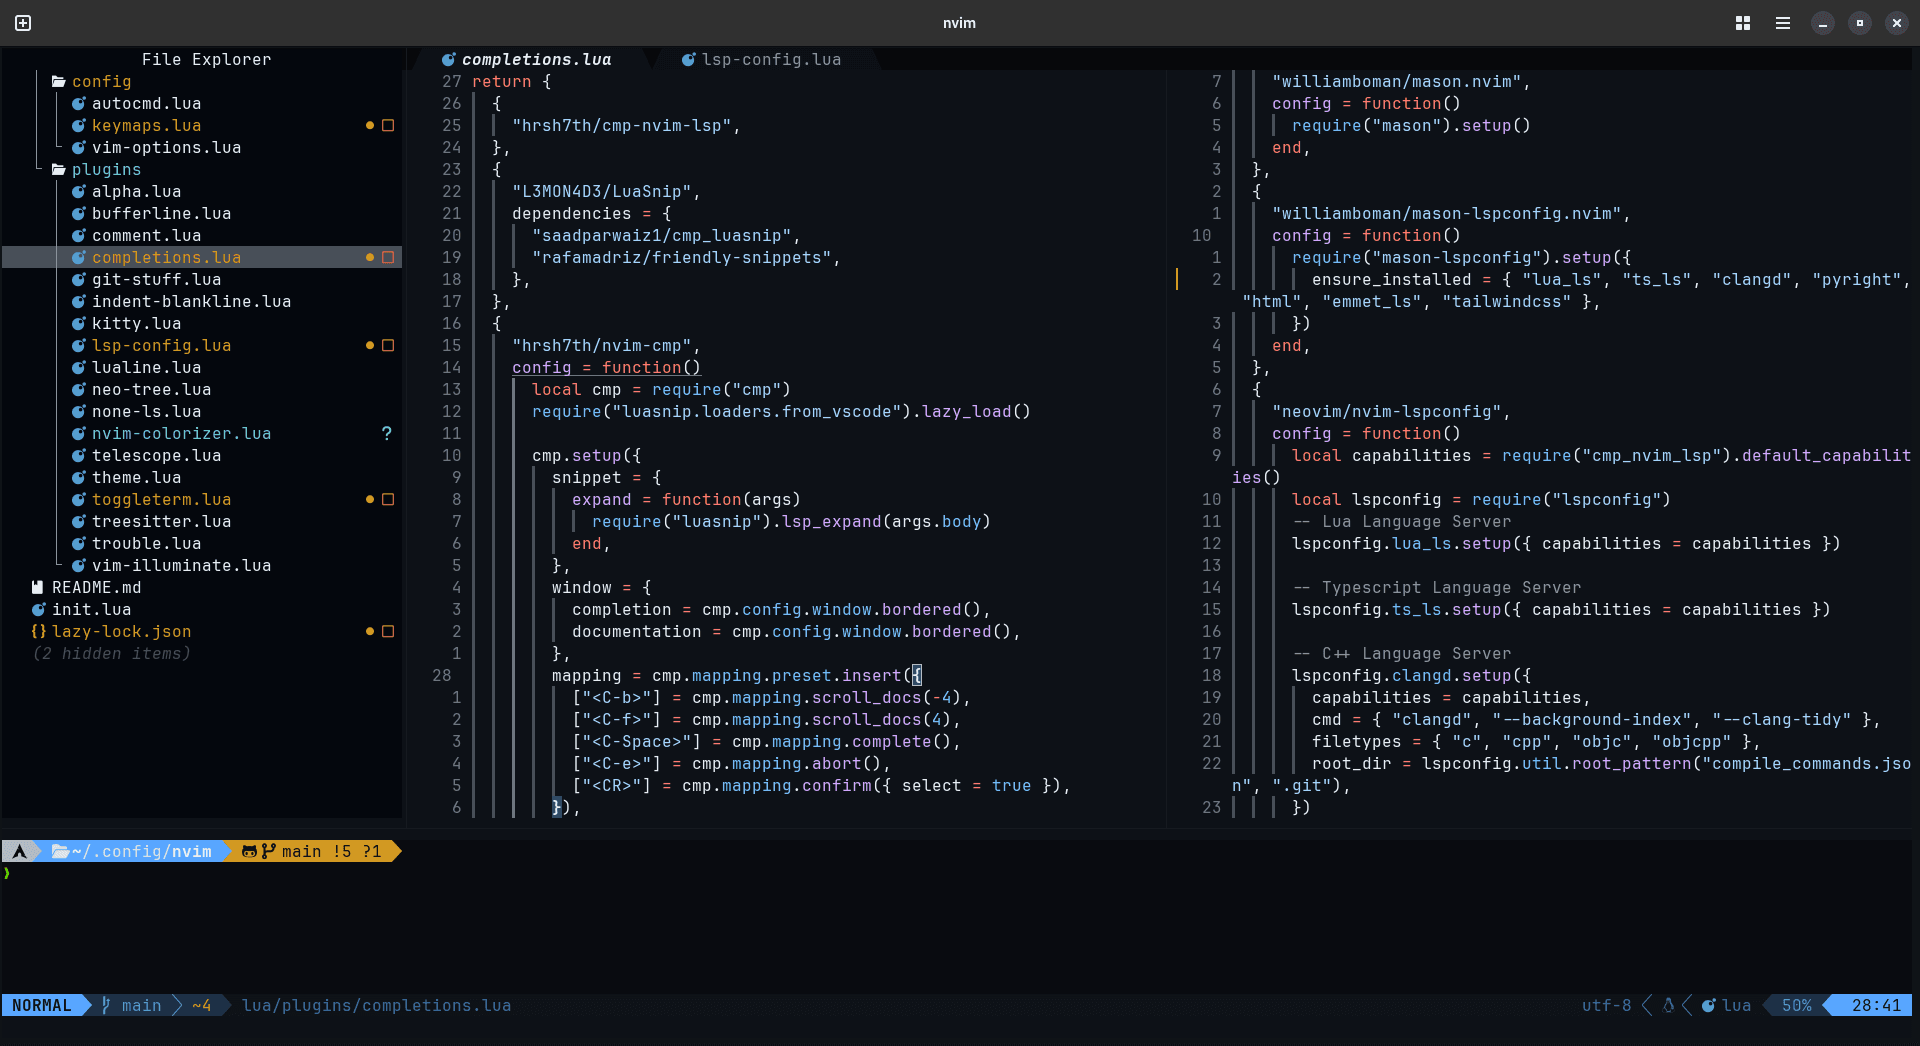
Note: You can find the link to my GitHub repository for my Neovim configuration at the end of this post.
Pre-built Neovim Configurations
There are plenty of pre-built Neovim configurations available, such as:
- LazyVim
- NvChad
- LunarVim
These setups provide great defaults and pre-configured plugins, but if you want complete control over your development environment, I’ll help you build your own Neovim configuration from scratch. We’ll configure everything—from syntax highlighting (Tree-sitter) to LSP support (Language Servers, autocompletion, and more)—step by step.
Setting Up Neovim From Scratch
Installing Neovim
Linux & macOS
To install Neovim, you can use your system’s package manager:
# Ubuntu/Debian
sudo apt install neovim

# Arch Linux
sudo pacman -S neovim

# macOS (using Homebrew)
brew install neovim
Windows
On Windows, you can install Neovim via Scoop or Chocolatey:
# Using Scoop scoop install neovim # Using Chocolatey choco install neovim
After installation, ensure that nvim is available in your terminal by running:
nvim --versionSetting Up the Configuration Folder
Before we start configuring Neovim, we need to set up the configuration directory.
Linux & macOS
Neovim’s configuration files are stored in:
~/.config/nvimWindows
On Windows, the configuration files are stored at:
%userprofile%\AppData\Local\nvim\Inside this directory, we will structure our Neovim config like this:
~/.config/nvim/
│── init.lua               # Entry point for Neovim (loads all configurations)
│── lua/
│   ├── plugins.lua        # Plugin management (lazy.nvim)
│   ├── options.lua        # Neovim settings (tab size, line numbers, etc.)
│   ├── keymaps.lua        # Custom keybindings
│   ├── lsp.lua            # LSP and autocompletion setup
│   ├── treesitter.lua     # Treesitter configuration for syntax highlighting
│   ├── theme.lua          # Theme and colorscheme configuration
│   ├── statusline.lua     # Lualine status bar setup
│   ├── filetree.lua       # Neotree (file explorer) setup
│   ├── autocmd.lua        # Auto commands for Neovim behavior
This modular approach ensures that our configuration remains organized and scalable.
Step-by-Step Configuration
1. Installing a Plugin Manager
To install and manage plugins efficiently, we will use lazy.nvim, one of the best plugin managers available for Neovim. Lazy.nvim provides lazy loading, meaning plugins are loaded only when needed, which keeps Neovim fast.
To install lazy.nvim, run:
git clone --filter=blob:none https://github.com/folke/lazy.nvim.git --branch=stable ~/.config/nvim/lazy.nvimThen, in your init.lua file, add:
require("lazy").setup("plugins")Next, create a lua/plugins.lua file where we will define our plugins.
2. Setting Up a Theme
A good theme enhances readability and makes coding more enjoyable. One of the best themes for Neovim is tokyonight.nvim. To install it, add this to plugins.lua:
return {
	{
		"folke/tokyonight.nvim",
		lazy = false,
		priority = 1000,
		config = function()
			vim.cmd([[colorscheme tokyonight]])
		end,
	},
}
This ensures that the Tokyo Night theme is loaded as soon as Neovim starts.
3. Installing Tree-sitter for Syntax Highlighting
Tree-sitter enhances Neovim’s syntax highlighting. Add this to plugins.lua:
return {
	{
		"nvim-treesitter/nvim-treesitter",
		build = ":TSUpdate",
		config = function()
			require("nvim-treesitter.configs").setup({ highlight = { enable = true }, indent = { enable = true } })
		end,
	},
}
Then, install the necessary parsers by running:
nvim :TSInstall all
4. Adding a File Explorer (NeoTree)
NeoTree provides a sidebar file explorer. Add this to plugins.lua:
return {
	{
		"nvim-neo-tree/neo-tree.nvim",
		branch = "v2.x",
		dependencies = { "nvim-lua/plenary.nvim", "nvim-tree/nvim-web-devicons", "MunifTanjim/nui.nvim" },
		config = function()
			require("neo-tree").setup({})
		end,
	},
}
Now, open Neovim and use :Neotree toggle to launch the file explorer.
5. Setting Up LSP for Autocompletion and Code Navigation
Neovim’s built-in LSP (Language Server Protocol) allows for IDE-like features. Install the LSP manager:
return { { "neovim/nvim-lspconfig", config = function() require("lspconfig").tsserver.setup({}) -- Example for TypeScript end }, }
Then, install the language servers:
npm install -g typescript-language-server6. Adding Lualine for a Better Status Bar
Lualine enhances the status bar with useful information. Add this to plugins.lua:
return {
	{
		"nvim-lualine/lualine.nvim",
		config = function()
			require("lualine").setup({ options = { theme = "tokyonight" } })
		end,
	},
}
Final Thoughts
With this setup, you now have a fully functional Neovim configuration with a plugin manager, theme, syntax highlighting, file explorer, LSP, and status bar. This is just the beginning—you can further extend Neovim with debugging tools, Git integrations, and more!
Link to github repository :- https://github.com/Harjot01/nvim-config